How to Remove Stubborn Residue from Vintage Glassware

Did you know that some vintage glass-dye processes from the mid-20th century can actually react with modern dishwashing detergents, leaving a permanent film if not handled correctly? When you pull a beautiful, brightly colored shot glass or a small-scale bottle from a thrift store bin, you aren't just looking at a piece of history; you're looking at a surface that might be holding onto decades of grime, dried spirits, or even mineral deposits. Cleaning these items isn't just about hygiene—it's about preserving the integrity of the piece and ensuring the colors stay vibrant for the next generation of collectors.
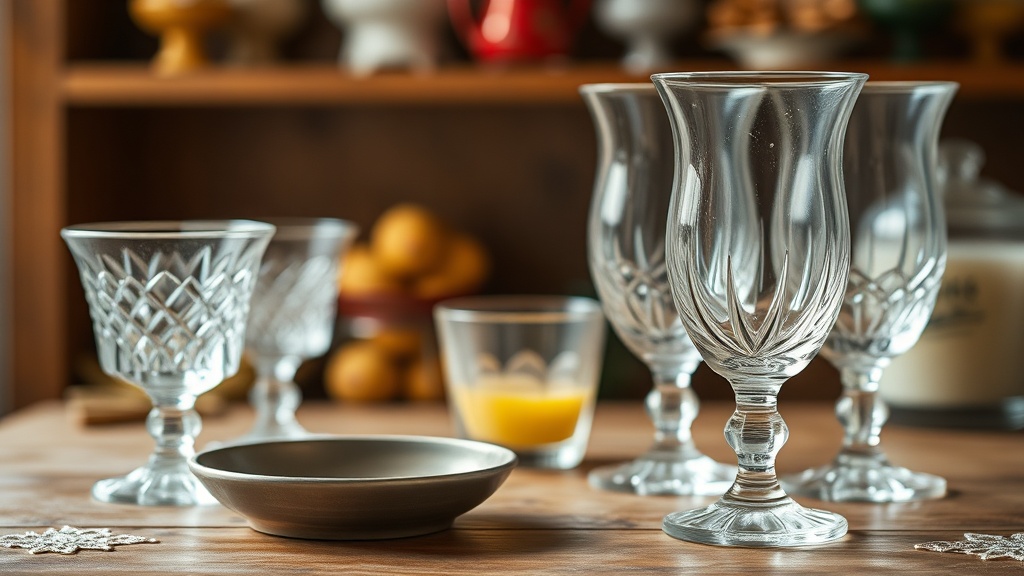
This guide covers the specific methods for stripping away organic buildup, mineral scale, and dried-on residue without damaging the delicate surface of your collectibles. Whether you're dealing with a tiny bottle with a narrow neck or a heavily decorated shot glass, the approach changes based on the material. We'll look at how to tackle various types of buildup while keeping your collection safe from structural or aesthetic degradation.
How do I clean residue from narrow-neck bottles?
The narrow neck of a decorative bottle or a small spirit vessel is a notorious trap for residue. You can't exactly stick a sponge in there, and standard brushes often fail to reach the bottom corners. If you've found a piece with dried liquid at the bottom, don't panic. The most effective way to tackle this is through a controlled soak. A mixture of warm water and a tiny amount of mild, pH-neutral soap usually does the trick, but for stubborn, dried-on organic matter, you might need something a bit more aggressive.
For these tighter spaces, try the rice method. Pour a small amount of uncooked rice into the bottle, add a bit of water and a drop of dish soap, and shake it vigorously. The rice acts as a gentle abrasive, scrubbing the interior walls without the need for a brush. If the residue is more mineral-based (like calcium from hard water), a solution of white vinegar and water can work wonders. Just remember: never use vinegar on surfaces that are porous or made of certain types of soft stone or unglazed ceramics, as the acidity can cause issues. You can check the Glass Museum resources to learn more about different glass compositions and their vulnerabilities.
The Rice and Soda Method
If the rice doesn't quite reach the level of cleanliness you need, you can try a soda-based approach. The carbonation and the slight acidity of a soda can help break down certain types of organic residue. However, this is a hit-or-miss tactic and should be used sparingly. Always rinse thoroughly afterward to ensure no sugar or residue remains to create a new film.
Can I use harsh chemicals to clean my collection?
The short answer is a hard no. While it's tempting to reach for a heavy-duty degreaser or a caustic cleaner to get that vintage piece looking "new," you are playing a dangerous game with the artwork. Many vintage shot glasses feature decals, hand-painted details, or even gold leafing. Harsh chemicals can easily strip these designs right off the glass. A high-alkaline cleaner might leave the glass clear, but it could leave you with a blank, characterless piece of glass instead.
Stick to things you can find in a standard pantry. Distilled water is your best friend because it's free of the minerals found in tap water that can cause new buildup. If you're dealing with an oily residue, a very dilute solution of isopropyl alcohol on a cotton swab is much safer than a commercial degreaser. This works well for small areas, but don't soak the entire piece in alcohol, as it can affect some older adhesives or certain types of paints. For more information on the chemical stability of vintage items, the Library of Congress archives often have historical documentation on manufacturing standards that can be quite enlightening.
What is the safest way to clean painted or etched glass?
Etched glass and painted designs require a much more delicate touch. The goal here is to remove the surface grime without affecting the texture of the etching or the bond of the paint. For these pieces, avoid any form of physical scrubbing. Even a soft brush can occasionally leave micro-scratches on certain types of treated glass. Instead, rely on soaking and gentle rinsing.
A common mistake is using a bottle brush that is too stiff. If you must use a tool, opt for a soft silicone brush or even a cotton ball. If you see a buildup of white, cloudy film on etched glass, it's often a combination of soap scum and minerals. A soak in a mild citric acid solution (like lemon juice and water) can help dissolve the minerals, but keep the soak time short. You want to lift the grime, not dissolve the etching itself. Always test a small, inconspicuous area first—especially if the piece has a lot of intricate gold or silver-toned trim.
When dealing with these delicate items, patience is your best tool. If a piece doesn't come clean on the first try, don't keep scrubbing. Set it aside, let it soak in a more diluted solution, and try again later. It's much better to have a slightly dirty piece in your collection than a ruined one. Always remember that the value of a collectible often lies in its original state; if you strip away the character or the art, the value drops significantly.
| Residue Type | Recommended Solution | Method |
|---|---|---|
| Organic/Sticky | Warm Water + Mild Soap | Soak and gentle swirl |
| Mineral/Scale | Diluted White Vinegar | Short soak/Rinse well |
| Oily/Greasy | Isopropyl Alcohol (Swab) | Targeted spot cleaning |
| General Grime | Distilled Water | Gentle rinsing |
One final tip: always dry your pieces immediately after washing. Air-drying can lead to water spots (those pesky white circles) that are a nightmare to remove later. Use a lint-free cloth or a specialized microfiber towel to pat the piece dry. This prevents the very mineral buildup you're trying to avoid in the first place.